
Looking to create your own AI art but not sure where to start? Look no further than Midjourney! It’s the perfect platform for beginners to generate AI-generated images in just minutes. You don’t need any technical skills or artistic talent to use Midjourney. All you need is an idea and the ability to describe it in a few sentences. Midjourney takes your description and transforms it into unique AI art right before your eyes. With just a few clicks, you can download, print, and share your image. Midjourney makes AI art accessible to everyone, so you can bring your wildest ideas to life. In this guide, we’ll walk you through everything you need to know to get started with Midjourney and start creating your own AI art today. By the end, you’ll be generating AI images like a pro. So, let’s dive in!
What is Midjourney and how does it work?
Midjourney is the best AI tool for generating realistic images. Currently, you can access Midjourney through a Discord bot on their official Discord server. You can interact with the bot by direct messaging it or by inviting it to a third-party server. To generate images, simply use the “/imagine” command and provide a prompt. The bot will then return a set of four images for you to choose from. Midjourney is also working on a web interface for more accessibility.
Getting started with Midjourney
To begin using Midjourney, you’ll first need to sign up for an account. Here’s how:
1. Set up Discord
You’ll need a verified Discord account to use the Midjourney bot. Discord is similar to Telegram, where you can chat with Midjourney and other users in a chatbot environment. Access the Midjourney Bot through Discord via a web browser, mobile app, or desktop app. Create a Discord account and verify it.
2. Join the Midjourney Server on Discord
To interact with the Midjourney Bot, you need to join the Midjourney Server. Open Discord and find the server list on the left-hand sidebar. Click the “+” button at the bottom of the server list. In the pop-up window, click “Join a Server” and paste or type the following URL: http://discord. g/midjourney. Then, press “Join”.
3. Subscribe to a Midjourney Plan
To start generating images with Midjourney, you’ll need to subscribe to a plan. Visit Midjourney. om/account and sign in using your verified Discord account. Choose a subscription plan that suits your needs.
Create your first image with the “/imagine” command
Once you’ve joined the Midjourney server on Discord, you’ll see several channels listed in the sidebar. Look for and select any channel labeled “newbie”. These channels are specifically designed for beginners to start using the Midjourney bot.
To generate a new image, simply type the “/imagine” command. You can also select it from the list of available slash commands that appear when you type “/”. Then, provide a description of the image you want to create. If there’s a particular style or subject you want to emulate, include links to examples. Midjourney can analyze the examples to gain a better understanding of what you’re looking for. Type /imagine [image link] [description] [parameter]. The Midjourney Bot will process your request and generate four unique image options within a minute.
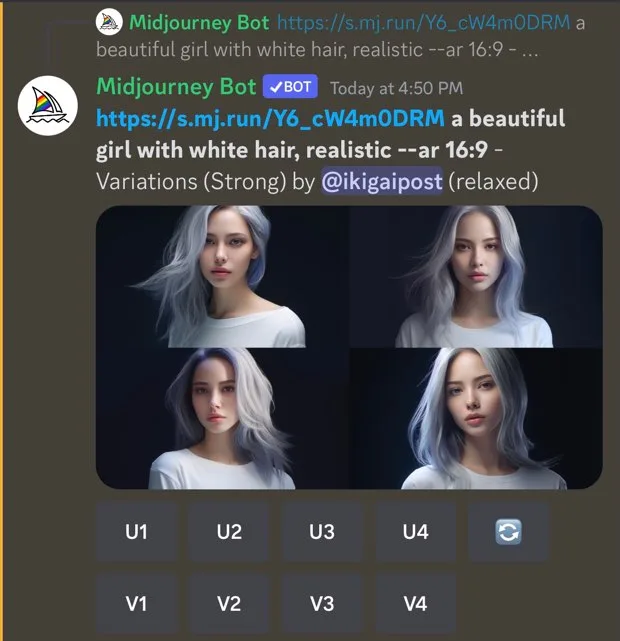
Example: Let’s create an image of a beautiful girl with white hair, with aspect ratio 16:9, using the image url.
You can get image url, whenever you open images in a window. Check out stock images on Pexels and Unsplash, or upload your own image in to discourse bot and copy url.
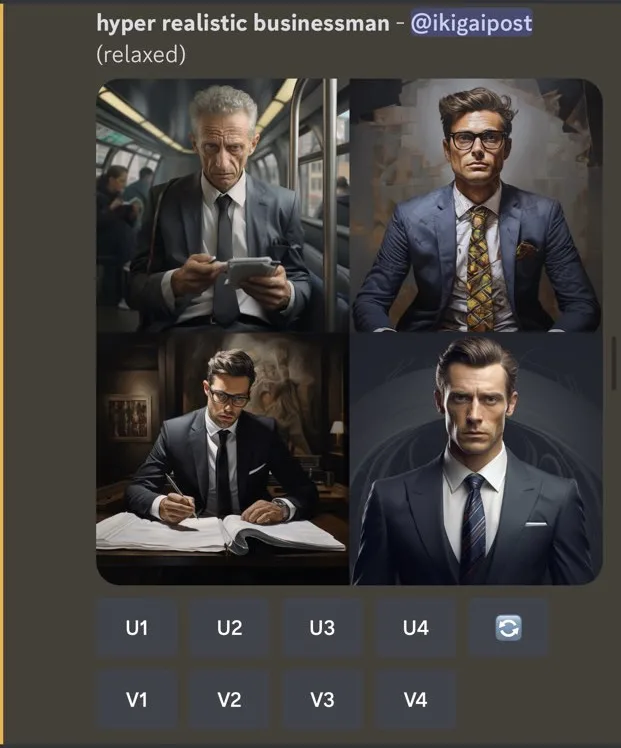
Choose an image
Once your initial image grid is generated, you’ll find two rows of buttons beneath the image grid. The “U” buttons help you select your preferred image from the grid, making it easier to download and giving you access to additional editing and generation tools. In earlier versions of Midjourney, the “U” buttons were used for upscaling images.
Example: I like the second image, the upper right. In order to generate 4 variations of that pic, click V2.

The “🔄” button allows you to re-run the original prompt and produce a new grid of images.
Create variations
The “V” buttons are used to create variations of the selected image. Each button generates a new image grid that maintains the general style and composition of the selected image.
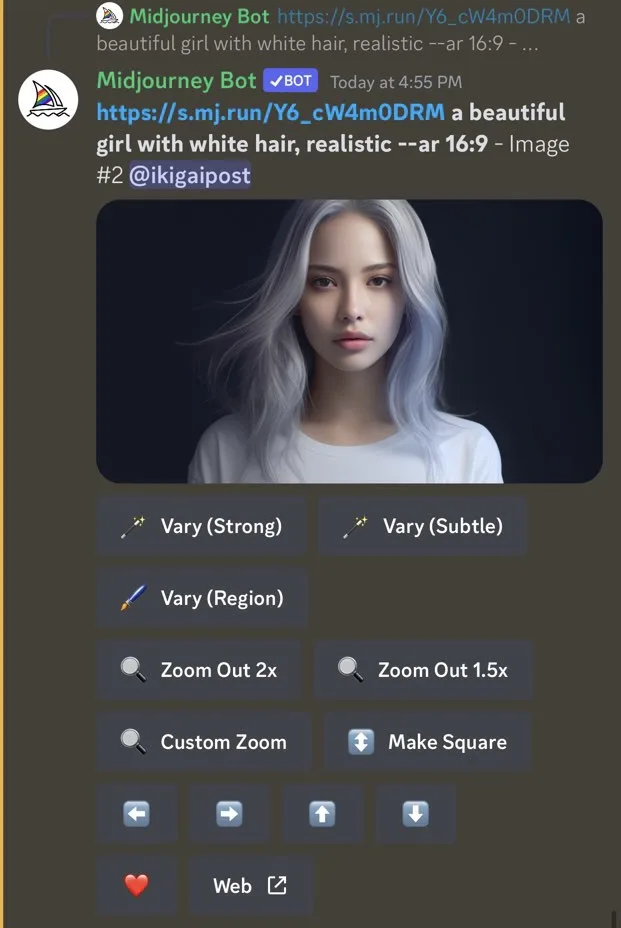
Example: We got the second grid of images, and I really like the upper right image. In order to save it or edit further, click U2.
Edit your image further
After selecting an image, you’ll have access to an expanded set of options.
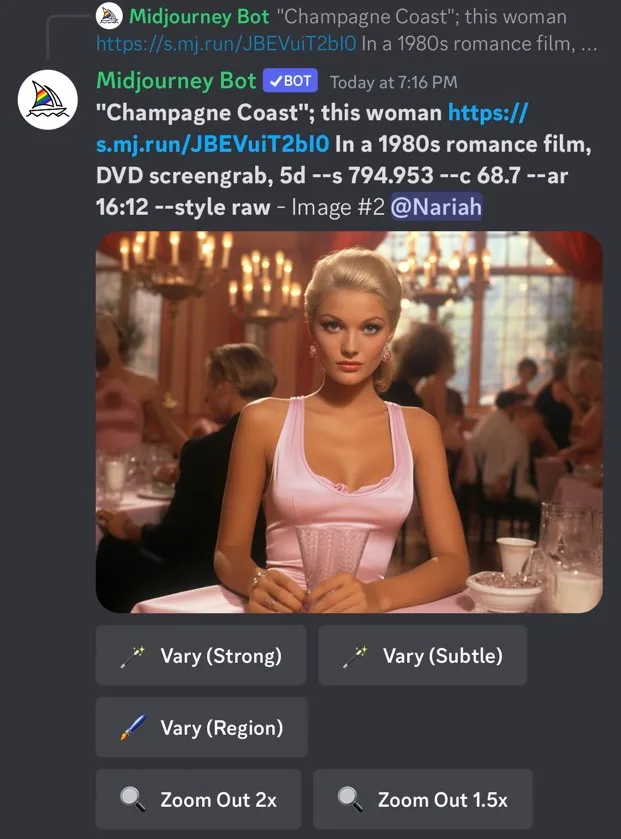
The “🪄 Vary (Strong)” and “🪄 Vary (Subtle)” buttons allow you to create stronger or subtle variations of your selected image, generating a new grid of four options.
The “🔍 Zoom Out 2x”, “🔍 Zoom Out 1. x”, and “🔍 Custom Zoom” buttons let you zoom out of your image, extending the canvas without changing the content of the original image.
The “⬅️ ➡️ ⬆️ ⬇️” pan buttons allow you to expand the canvas in a chosen direction without altering the original image’s content.
The “❤️ Favorite” button lets you tag your best images for easy access on the Midjourney website.
To save your image click on the image to open it to full size, and then right-click and choose Save image. Access your images on midjourney.com/app
Tips for Generating High Quality AI Art
To generate high quality AI art with Midjourney, follow these tips:
Start with a descriptive prompt
The prompt you provide Midjourney is key to getting good results.
- Be as descriptive as possible. Mention colors, styles, themes, subjects, mediums, genres, time periods, or artists that inspire you.
- Use a theme or concept rather than an object. For example, “cyberpunk city” or “impressionist landscape” works better than just “city” or “landscape”.
- Provide examples of artworks, styles, or themes you like. For instance, “a surrealist painting like Salvador Dali’s The Persistence of Memory”.
- Use keywords that evoke a feel or style. Words like “vibrant”, “futuristic”, “whimsical”, “minimalist” or “retro” help communicate the visual style you want.
With practice, you’ll be creating custom AI art in minutes. Let me know if you have any other questions!
Advanced Techniques: Styles, Aspect Ratios, and parameters
Once you’ve got the basics down, it’s time to explore some of Midjourney’s more advanced features. These techniques will allow you to fine-tune your AI art and achieve the exact look you want.
Styles
Midjourney has a variety of styles you can apply to your images. Some options include:
- Photorealistic: Creates highly detailed, photorealistic images. Use for landscapes, still lifes, portraits.
- Concept art: Generates colorful, stylized concept art. Great for characters, environments, and props.
- Pixel art: Renders retro-style pixel art. Perfect for old school video game inspired art.
- Sketch: Produces rough pencil sketches. Ideal if you want an hand-drawn look.
To use a style, include the name in your prompt, e.g. /photorealistic castle/, /concept art robot/, /pixel art arcade/, or /sketch portrait/.
Aspect Ratios
You can also specify the aspect ratio, or width to height ratio, of your image. Some choices are:
- Square: 1:1 ratio. Use for social media profile pics, album art. Prompt: /square landscape/
- 4:3: Standard TV and computer monitor ratio. Good for illustrations and graphics. Prompt: /4:3 still life/
- 16:9: Widescreen ratio common for movies and videos. Works well for expansive scenes. Prompt: /16:9 seascape/
- Panoramic: Very wide, cinematic ratio. Stunning for epic vistas and environments. Prompt: /panoramic night cityscape/
Midjourney examples:

Conclusion
Now you have the basics to get started creating AI art with Midjourney. The possibilities are endless – you can generate landscapes, portraits, abstract art, illustrations, and more. Don’t be afraid to experiment with different prompts and settings to achieve different results. The key is to have fun with it! Who knows, you might create something truly unique and compelling. And if you get stuck, just remember the tips from this guide. Midjourney makes generating AI art accessible for anyone, so unleash your creativity and see what you can imagine. You’ve got this! Now go forth and make some art. The future is now.